

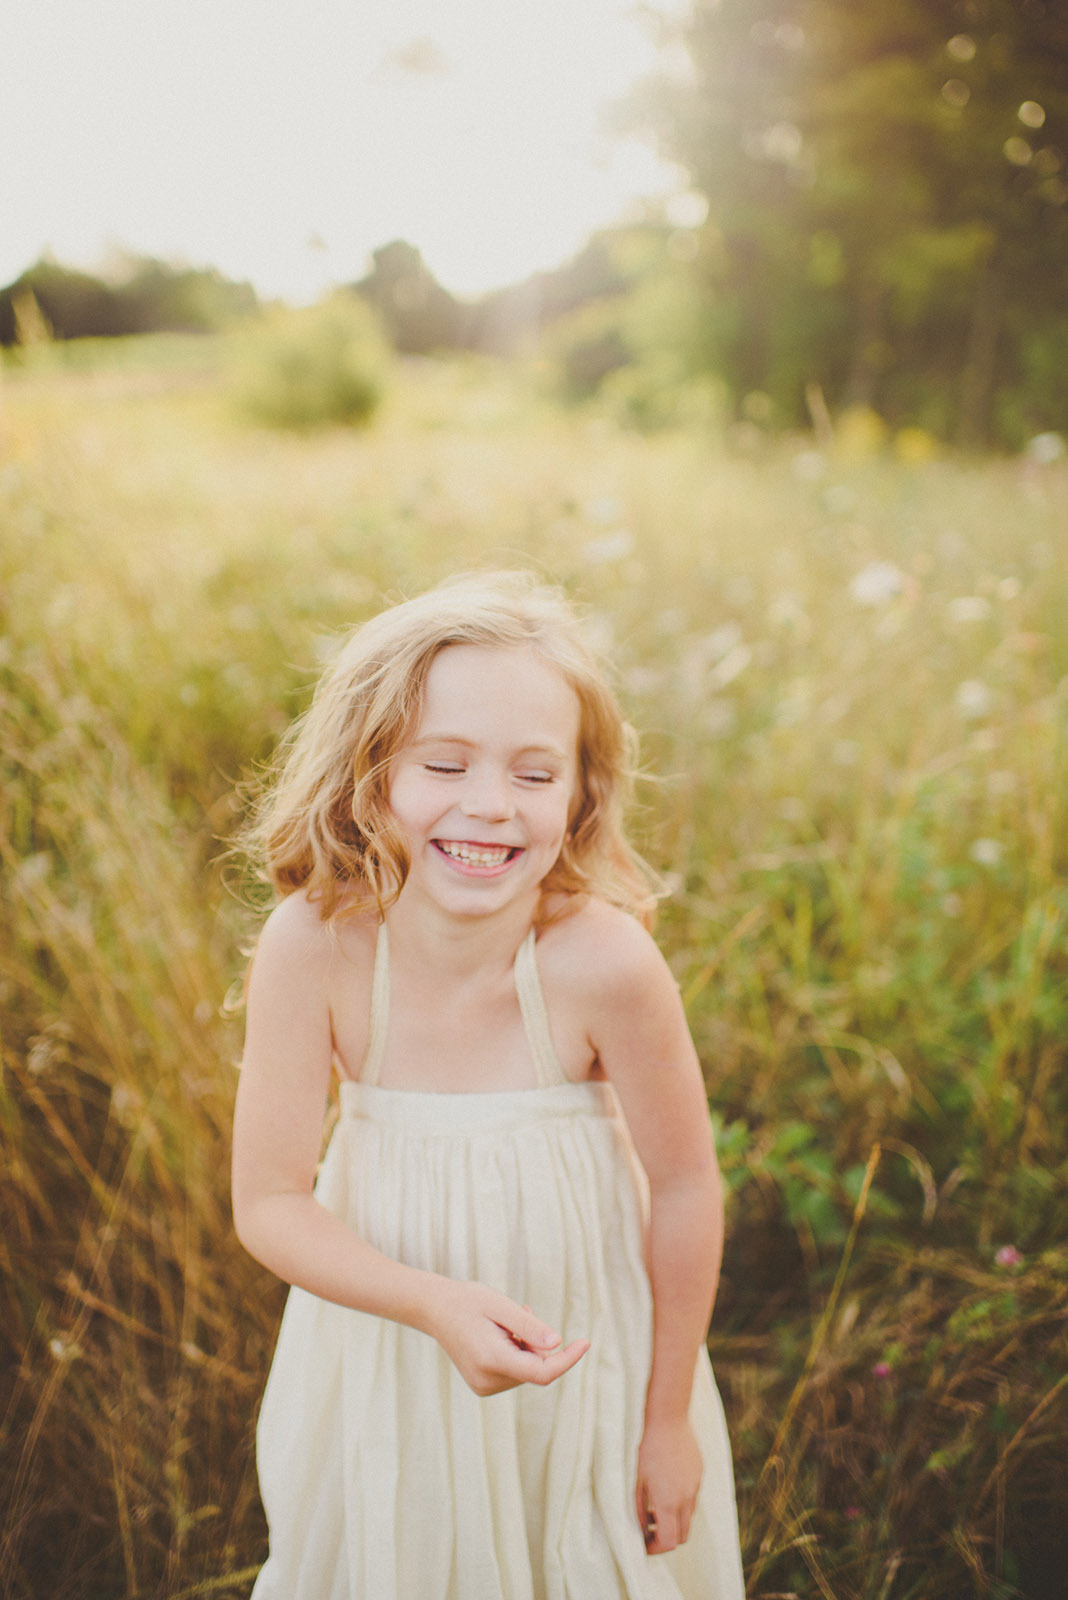
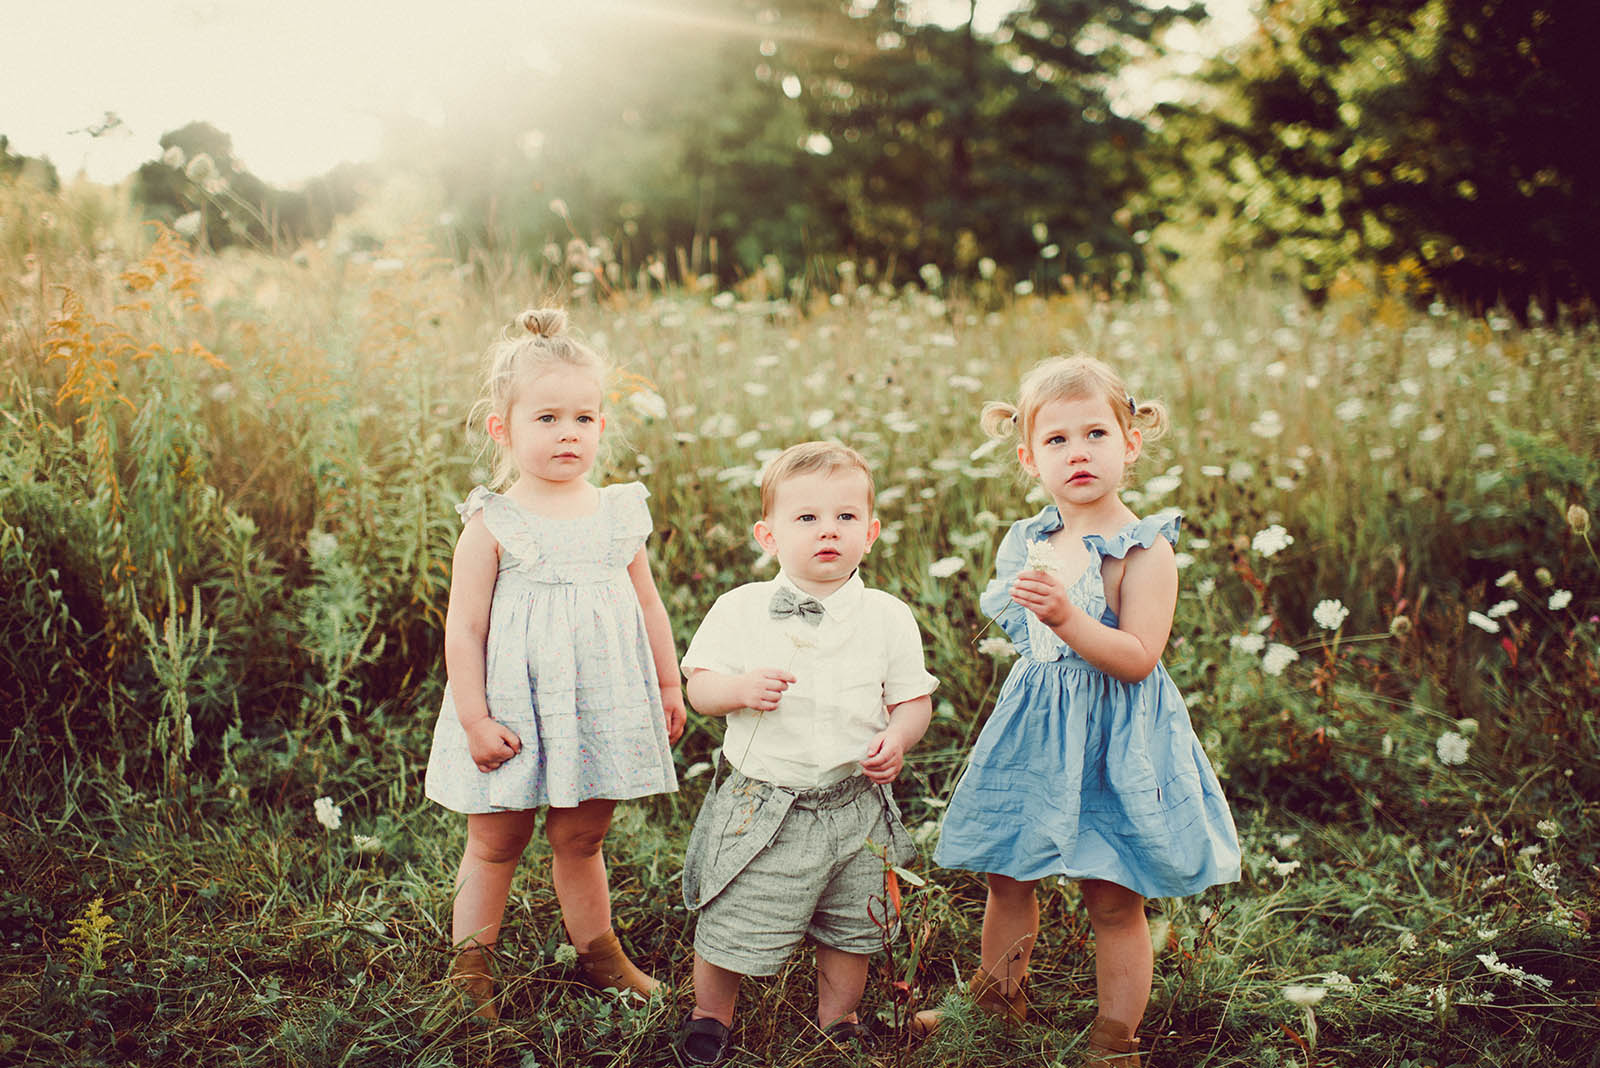
Light. Beautiful, seeping, can’t-look-away light. It’s a photographer’s ecstasy. We see it dancing in the shadows and peering through the trees. We notice it in the morning as it creates freckles on our walls through lace curtains and we watch as it cools and manifests mood each night.
I have always been a light chaser and have always chosen to shoot right toward it – completely unafraid and unabashedly determined, like a hunter stalking his prey. Backlighting is without a doubt my absolute favorite. Here are 7 tips I’ve learned, practiced and perfected for getting magical backlit pictures of children.
1. Find your focus.
Children, as you know, are always on the move. I have found that using back button focus (BBF) has helped immensely while focusing in backlight. This is especially important if you want your backlit photos of children to have sharp focus despite movement.
Oftentimes, I focus on the eye of the child that is closest to me and use my hand to shade the sun while I lock focus. I will literally curve my hand above the top of the lens like the rim of a hat. Then, I slowly remove my hand and shoot, allowing light to spill in but the focus to remain.


2. Use spot metering for correct exposure in backlight.
Spot metering is a key component to successfully shoot in backlighting. With that said, there are many ways to meter and get correct exposure, so please do what works best for you.
I do, however, urge you not to be dependent on checking the back of your camera to ensure your exposure is correct. It is essential to know your meter so that when you are shooting a child who is running rampant, you can keep your eye on your viewfinder and make any adjustments immediately. Let’s be honest, if you take the time to check the back of your camera after every shot, you could lose the opportunity to capture the authentic moments you are dreaming about.
Set your camera to spot meter and then meter off the brightest point of your subject’s face. It can also be helpful to underexpose by one or two stops to avoid the chance of blowing out the highlights and details you do not want to lose.


3. Shoot in RAW to allow for adjustments in post.
I am all about getting your image right straight of out camera but I am also a realist have found myself practically foaming at the mouth during sessions from the chaos of it all.
RAW is truly your crutch that may support you when all else fails and chaos takes over. The dynamic range of a RAW file will allow you to pull back the highlights as well as adjust shadows, exposure, and white balance when you need to.
The truth of the matter is that sometimes you will mess up and you want to have a fighting chance of saving an image. So shoot in RAW rather than JPEG.
4. Track sunrise and sunset times.
Good old timeanddate.com. Being that I shoot backlit almost always during my outdoor sessions, I’m completely addicted to tracking sunrise and sunset times. In order to get the perfect golden sunlight for those backlit pictures of children I love, I need to know the exact time the light will happen.
Each time I buy a new calendar, I go through and mark sunset times throughout the year so I know when I want to shoot and can book my shoots accordingly. Golden hour is the hour before the sun sets. This is when the sky quite literally streams golden strands of light and the sun is perfectly warm and not overly intense.


5. Filter backlighting to make it more manageable.
One way to make backlighting a little easier to work with is by filtering it. Oftentimes I use trees to do so. Sometimes all you have to do to filter your light is step to one side or crouch down slightly.
It is really all about where you stand and subtle changes in your position can make a huge difference. Rather than repositioning a reluctant child and potentially losing their interest, reposition yourself to find the perfect filtered backlight.
6. Use a higher ISO for backlit photos.
Here is my trick: I always set my ISO higher than what I need it to be. The reason I do this is because I want to have more wiggle room with my shutter speed during golden hour sessions.
When I am taking backlit pictures of children, I want to be able to keep my shutter speed really high, faster than 1/300 if possible. Again, kids are always running, moving, jolting, spinning, squirming, whatever it may be! There have been far too many times when I ended up with blurry images from kids moving too fast because I was busy staring at the moments through my view finder and changing my shutter speed on a whim without realizing it was too slow.
By upping my ISO, I’m able to adjust my shutter speed to correct my exposure without thinking too much. I’ve found that I would prefer more noise from a higher ISO than blurriness from a low shutter speed. Sometimes you have to pick your battle.


7. Warm up your white balance for backlight.
I used to be an auto white balance kind of shooter. However, after some time and practice, I’ve found that I love using Kelvin. In fact, I’ve found that shooting my images warmer has helped create a beautiful creaminess to my images that I was once missing, especially with children whom I aim to look soft and innocent and glowing.
Often times, I put extra warmth in my images when choosing a Kelvin temperature for my white balance because I can always cool the images down afterward. Yet, oddly enough, whenever I shoot an image too cool and I attempt to warm it up in post, it feels less creamy and unrealistic in the tones.
So, when outdoors, I often find myself shooting at 6800k and adjusting it during post processing. In my opinion, warmer tones are more flattering on people and give the softer look I’m always going for.

Use these 7 tips for getting gorgeous, backlit pictures of children any time of the year. Because, backlighting really adds a magical, glowing touch to images and helps portray the feeling of childhood.
Words & photos by Sarah Driscoll.
This post was originally published 12/11/17 and was updated 2/16/22.
More advice for mastering backlit pictures of children and families.
12 Clever backlighting techniques for more creative photos
Light tamer: how to use harsh light to create dramatic photos
6 Unexpected ways to use window light to add magic to indoor photos