You’ve booked a photo session or wedding that requires you to travel — score! And then a moment of panic sets in: How do you keep your photography gear safe while traveling? What sort of bag is best for carrying multiple camera bodies and lenses onto a plane? Will film be ruined by the TSA X-ray machine? These questions are enough to make any traveling photographer feel immediately overwhelmed. But not to worry, a little bit of planning goes a long way in helping you relax when traveling with photography gear.
I have to travel for work more frequently these days, so I’ve been taking lots of mental notes about what works and what doesn’t when traveling with my photography equipment. Here are the steps I use to ensure that I’m able to travel with all the photography gear I need, and that it arrives safely.

1. Chose a camera bag that works for the way you travel.
You should select a camera bag based on your mode of transportation. Traveling by car is much easier than traveling by plane for the sole reason that you aren’t limited to one carry-on sized bag. Since most of us travel by car to get to our photo sessions and weddings locally, it’s not much different when the road trip is longer. Traveling by plane, however, takes the preparation level up a notch: You’ll have to make a few decisions before you go in order to decide how you want to pack.
Think about how much photography gear you’ll be hauling with you. Are you planning to check your bag or carry it on? While I recommend carrying on your gear 99% of the time, there are cases where a photographer must travel with gear that cannot be carried onto the plane. Sometimes it’s too large, too heavy, or there’s simply too much of it. Do you need to bring along a laptop, light stands, a tripod, or reflectors? What sort of bag or case will be most useful to you once you arrive to your destination? Once you’ve sorted through your needs, you can work on getting the right camera bag for your trip.
I have several travel camera bags that I use for traveling with photography gear, depending on the specific job and location. The largest is the House of Flynn Small Equipment Carrier, a four-wheeled roller suitcase that fits most of my gear. I typically carry this bag on, but I have been asked to gate check it because of its weight. The second bag I use for travel is the House of Flynn Wanderlust Rucksack, which allows me to store my camera bodies and lenses in the padded lower sections, leaving the expandable top ready to be filled with flashes and other accessories. Finally, the drone travels in the HUL Aluminum-Sided Drone Case.
Carry-on bags
If you plan to carry your photo gear onto the plane with you, check with your specific airline to find out their carry-on requirements. Some bags described as “TSA approved” may actually exceed the measurements for your airline or plane. Consider the required weight, as well. Camera gear can get heavy quickly, and some airlines will even ask you to weigh your carry-on bag. I’ve not yet run into this issue with my rucksack, but this happens often when traveling with roller bags. Tip: Stash a small packable backpack or tote bag into your roller carry-on just in case the gate agent asks you to check it. It’s not the best option, but this allows you to at least pull out the most important items and carry them on with the tote if the roller bag itself is too large or heavy to carry on.
Consider your own comfort when choosing a carry-on bag. You’ll be traveling to and from the airport with a lot of waiting and walking in between. For this reason I prefer to avoid shoulder or messenger style bags, which tend to cause pain in my shoulders and neck.
Checked bags
For checked baggage, there are plenty of options on the market to protect your gear during the rough journey from check-in to baggage claim. Be sure to select a bag that’s meant specifically for camera gear and read as many reviews as possible. My biggest concern with checking gear is theft. Choose a bag with a TSA-approved locking system and make a detailed list of everything inside. A photograph of your packed photography gear doesn’t hurt, either. Whether you’re traveling across town or across the globe, always make sure your photography equipment is insured.


2. Know the rules to help you pack smarter.
Your number one goal in packing should be the safety of your photography gear. Outfit every lens and camera body with the appropriate caps and store them snuggly inside your padded camera bag. Start by packing your most expensive and necessary items in your carry-on bag. Even if you plan to check some gear, make sure you’re carrying on as much as you possibly can. For me, this means at least one camera body (but usually two) and all of the lenses I’ll need to do my job. Anything relatively inexpensive (like flashes, tripods, extra chargers), or items that I consider a “just in case” or “might want to use” item goes in my checked bag in order to save weight in my carry-on.
Next, pack small items like memory cards, battery chargers, film, and spare batteries. TSA regulations require all lithium metal/ion spare batteries to be stored with the terminals covered and carried on to the airplane (you can read more about TSA rules on batteries on their website). Film (both exposed and unexposed) is safe to go through the TSA X-ray machine, however the checked baggage scanners have been known to damage rolls of film, so always pack film in your carry-on.
Pro Travel Tip:
Use a portable luggage scale to gauge how heavy your carry-on and checked bags are once fully packed. I try to leave room in my personal carry-on so that if it comes down to it, I can remove an item or two from my big carry-on and distribute the weight to align with the airline’s rules.
3. Have a strategy for airport security and boarding.
The journey through the airport may be the most nerve-wracking part of traveling with photography gear. Your bag is heavy and it needs to stay with you at all times, making a visit to the restroom particularly challenging. But there are some tricks to make lugging your photo equipment through security and onto the plane a little easier.
Going through security
If you don’t already have TSA PreCheck, I strongly advise you to register for it prior to flying. With TSA PreCheck, you won’t have to remove shoes, light jackets, laptops, liquids, or camera gear from your carry-on bag which makes the process so much smoother.
If you don’t have TSA PreCheck (or are traveling outside of the USA where TSA PreCheck is not valid), you may have to remove all camera bodies and lenses from your camera bag and quickly repack them on the other side. Before you enter the human X-ray, unload your gear into one of the plastic bins and send it through the belt just behind your empty gear bag. Try to make it through the X-ray simultaneously with your bag, and always keep an eye to your equipment. Once through, pull your bin to the end of the line so that you’re out of the way, and repack your gear in the same snug position it was in prior to unloading. Then you can make your way to the gate safely.
Boarding the plane
If I’m lucky enough to be in an early boarding group, I can relax knowing I’ll have an overhead bin space for my photography equipment. The rest of the time it’s a nail-biting wait to see if I’ll be able to snag a spot remotely close to my seat, if at all. If you find yourself in this position — especially if you’re traveling with a carry-on roller bag instead of a backpack — don’t be afraid to approach the gate agent with your concerns. Explain that you’re traveling for work, that your bag is filled with gear for your job and that it can’t leave your sight. Tell them you’re not comfortable checking your bag and ask if there is any way to make sure your bag gets into an overhead bin near your seat. Usually the gate agent will accommodate you. If not, you can always try talking to a crew member on board.


4. Secure your photography gear at your destination.
You’ve made it to your destination and all of your photo gear is safe and sound — you can breathe a sigh of relief! Now that you’ve arrived at your hotel or Airbnb, it’s best to organize your gear. I always store my memory cards, exposed film, camera bodies, and lenses (as many as will fit) in the hotel safe when they’re not in use. The rest of my photography equipment, like chargers, Gorillapod, unexposed film, and spare batteries, is stored in a bag either in a drawer or the closet.
On the days I’ll be working, I pack up my day-to-day gear bag (sometimes it’s the camera bag I’ve traveled with, and other times it’s a separate bag I’ve packed in my checked luggage) with the pieces I’ll need for that particular job. Everything else stays stored in the hotel safe or closet.
When traveling by rental car, be mindful of leaving your photo gear within view; rental cars are often easily identifiable by a barcode sticker on the window, and in some places local petty thieves will target rental cars. It’s best to keep your photography equipment on your person rather than risk having it stolen. But, if you need to leave your gear in your car, make sure that it is securely packed and out of sight in order to deter any curious passersby.


Traveling by plane with so much of your expensive camera gear can be truly nerve wracking! But, by taking the proper steps you can rest assured that your photo gear will arrive safely, and you can look forward to taking amazing photos in a new destination! I hope these tips on traveling with your photography equipment help make your next flight a little easier.

Awesome travel bags
My gear bags:
House of Flynn Wanderlust Rucksack
House of Flynn Small Equipment Carrier
Fjallraven Kanken
HUL Aluminum-sided Case for DJI Phantom Drone
Totes and duffels:
Kelly Moore Weekender oversized tote
Kelly Moore Explorer duffel
Holdfast Roamographer
Duffel backpacks:
Kelly Moore Pilot backpack
InCase dSLR Pro Pack
ThinkTank Airport Essentials backpack
ONA The Camps Bay backpack
House of Flynn The Backpack
Roller bags:
ThinkTank Airport International roller suitcase
Tamrac Speedroller International
LowePro PhotoStream RL 150
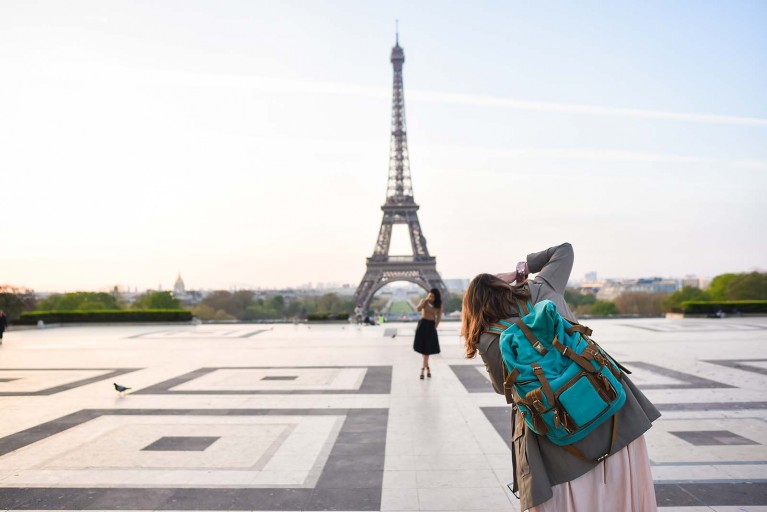
All photos by Alicia Bruce
More travel tips for photographers
Travel photography 101: 5 ways to capture a place
Our favorite travel photography gear
How to take authentic travel photos
